Setting Up a Model at Home
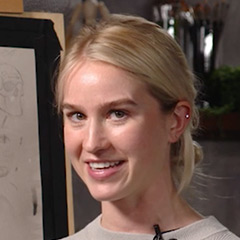
Savannah Tate CuffTransform any space into a life drawing studio with a model and a basic understanding of universal lighting principles. Artist Savannah Tate Cuff shows you how to adapt these principles to your space to light both your model and your drawing or painting surface. Consider your lighting and make decisions before you start to paint or draw for greatest success.
First, Savannah explains, always use a single light source when lighting your subject. This simplifies light and shadow for a stronger drawing. That single source can be natural light or artificial light. For centuries, artists have considered natural light—especially north-facing light—the gold standard, but it isn’t always available. If you do have north light, make the most of it! Savannah suggests putting tracing paper on the window for south or other directional light to keep it consistent.
Synthetic light, such as the LED panel on a light stand that Savannah uses in her studio, is the most consistent light, and easy to move around the model. Direct your lighting from the side so the model is half in light and half in shadow if you’re working in front of him or her. By directing the light from a three-quarters position, it’s possible to create what Savannah calls Rembrandt lighting, with a dramatic triangle of shadow on the model’s cheek. Or light the model from directly in front to create just a small shadow shape.
Finally, be sure to have enough light on your canvas or drawing surface as well. Maintain that single light source on the model, though, and don’t let the light on your paper interfere with it. Savannah explains how 19th century artists would set up two light sources with a curtain between them to maintain the integrity of the single light on each.
Looking for inspiration? Wondering what to draw next? Our friends at Craftsy have 8 Challenging Subject Prompts for you to check out!

